就如同各位從零開始的夥伴們,你們一定很想快點看到,一台可以裝上雷射LiDAR導航,自主漫遊 + 路徑規劃 + 自主避障 + 影像AI &^$%^#%%^%^&%^ ~ 等等集合了目前self-driving 前端科技的家用小車八 !! 我們記錄一位工程師,他是如何從零開始的學習、蛻變到一位 self-driving developer的過程。
話說,這一開始的動作應該也是記錄摸索的過程,不過,這卻是最真實的、殘酷與慘痛代價的經驗。希望這些記錄可以減少後面跟進的學習者們寶貴的時間。
在此定義初階段的學習標的 :
- 遠端遙控機器人
- LiDAR雷達建地圖
- 自主導航與避障
- 路徑規劃 (到這 ~ 基本該會的操作都已經具備了)
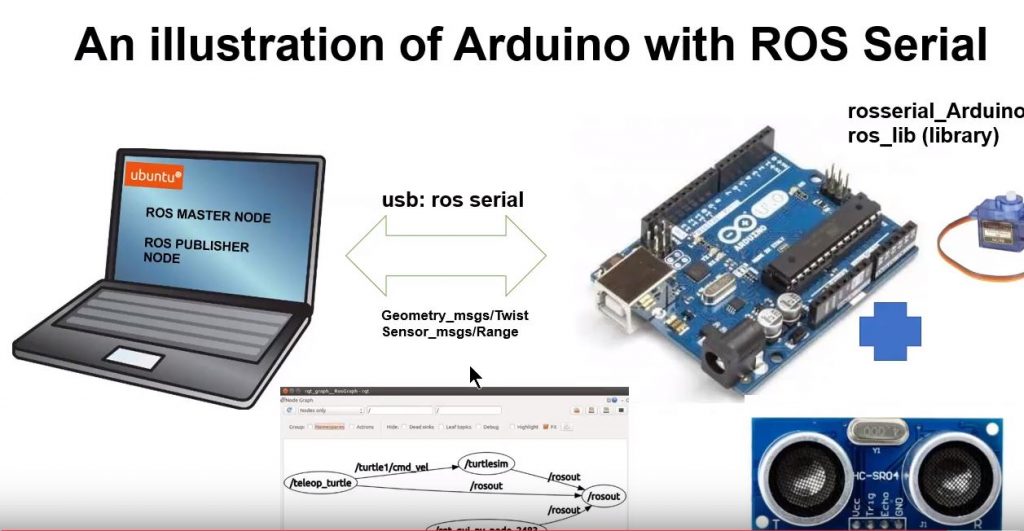
1-1、連線準備
使用裝備 :
- ACER i5 筆電 win10系統
- 樹梅派 Pi4 B (2020 年最新版)
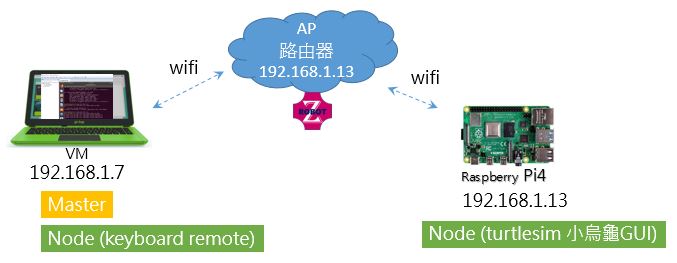
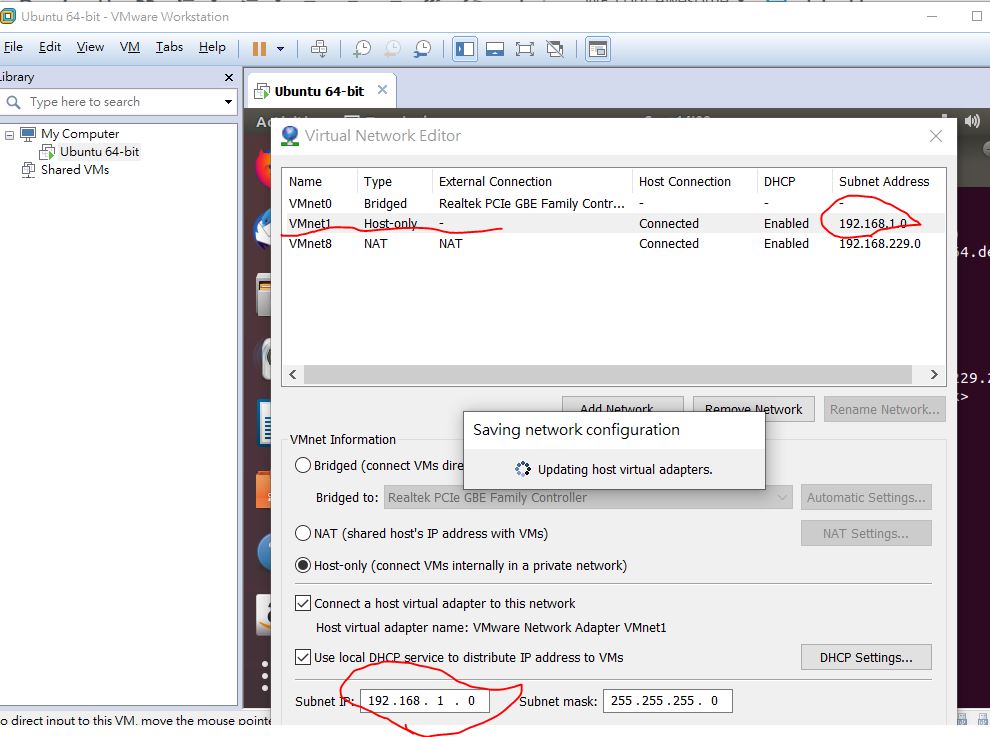
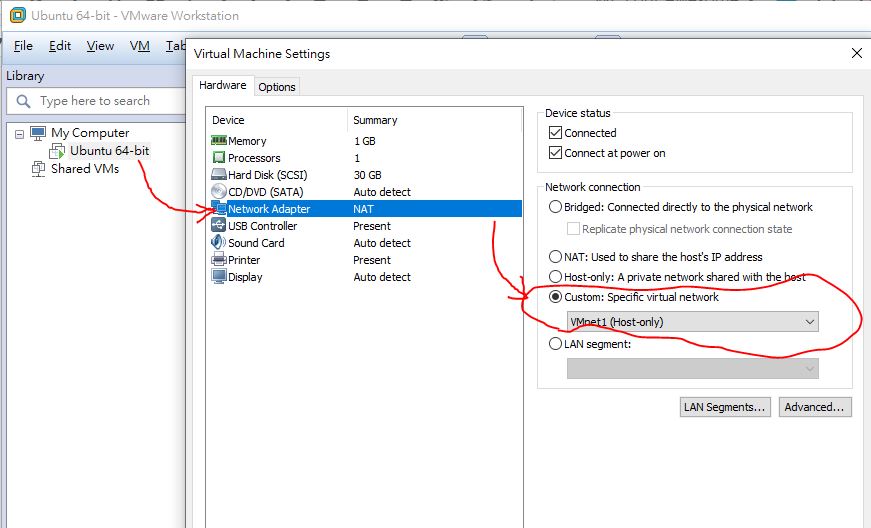
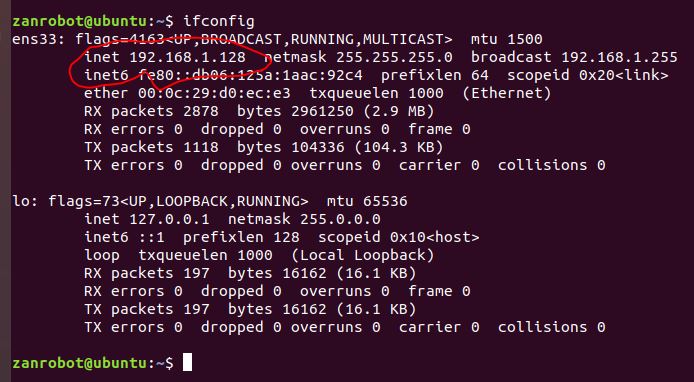
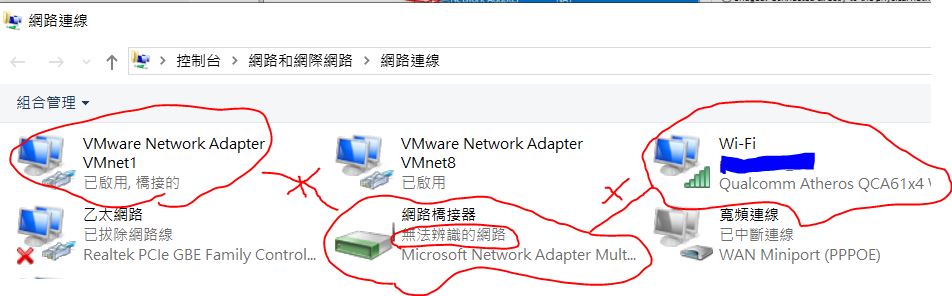
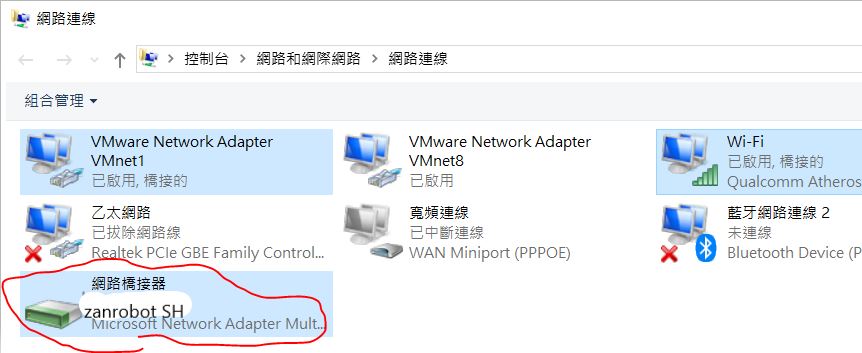
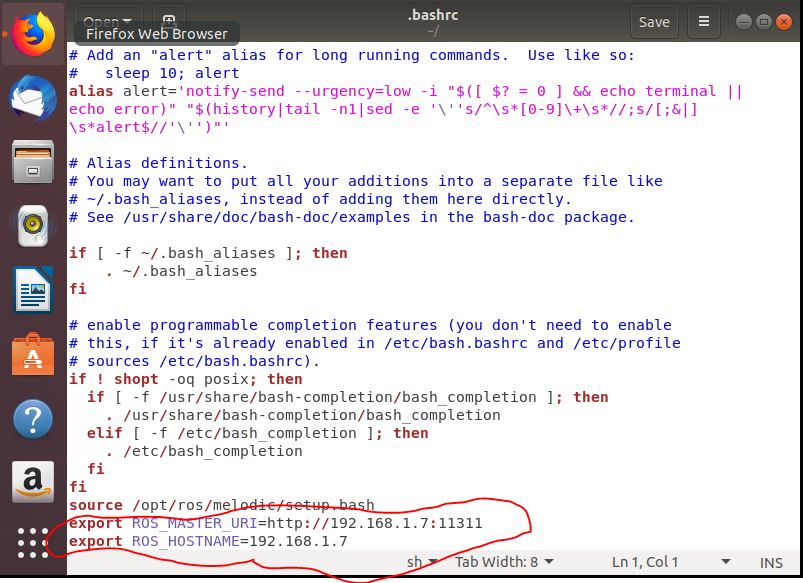
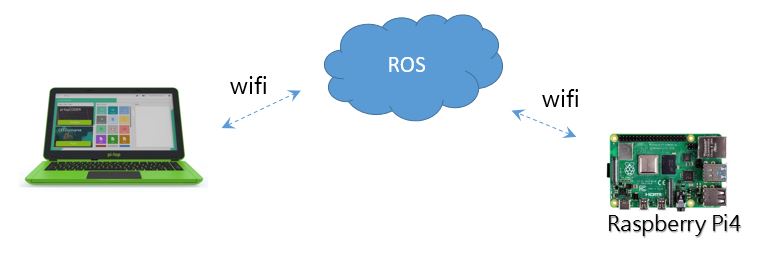
測試架構 :
1-2、上傳程式碼
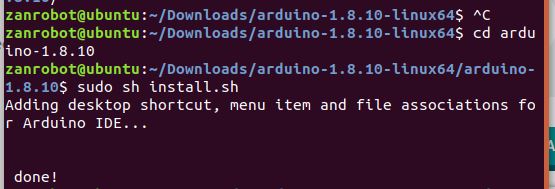
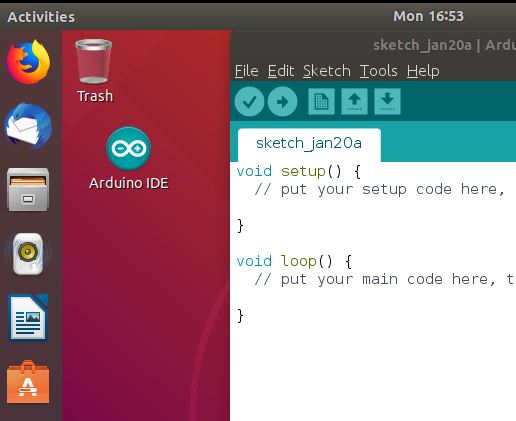
小編不再多寫,可參考官網 :
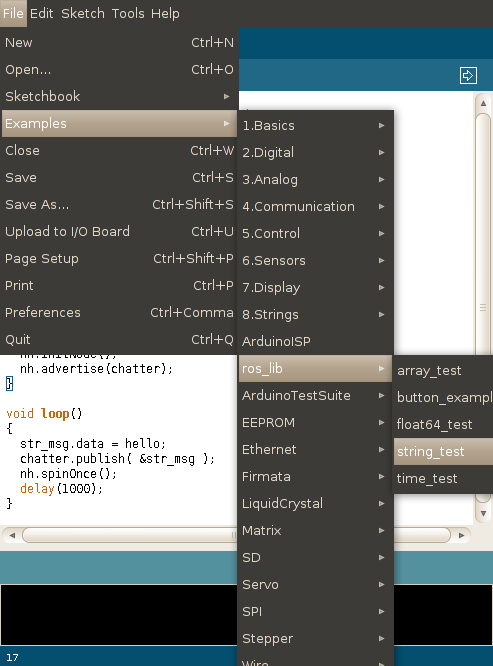
This should open the following code in your IDE:
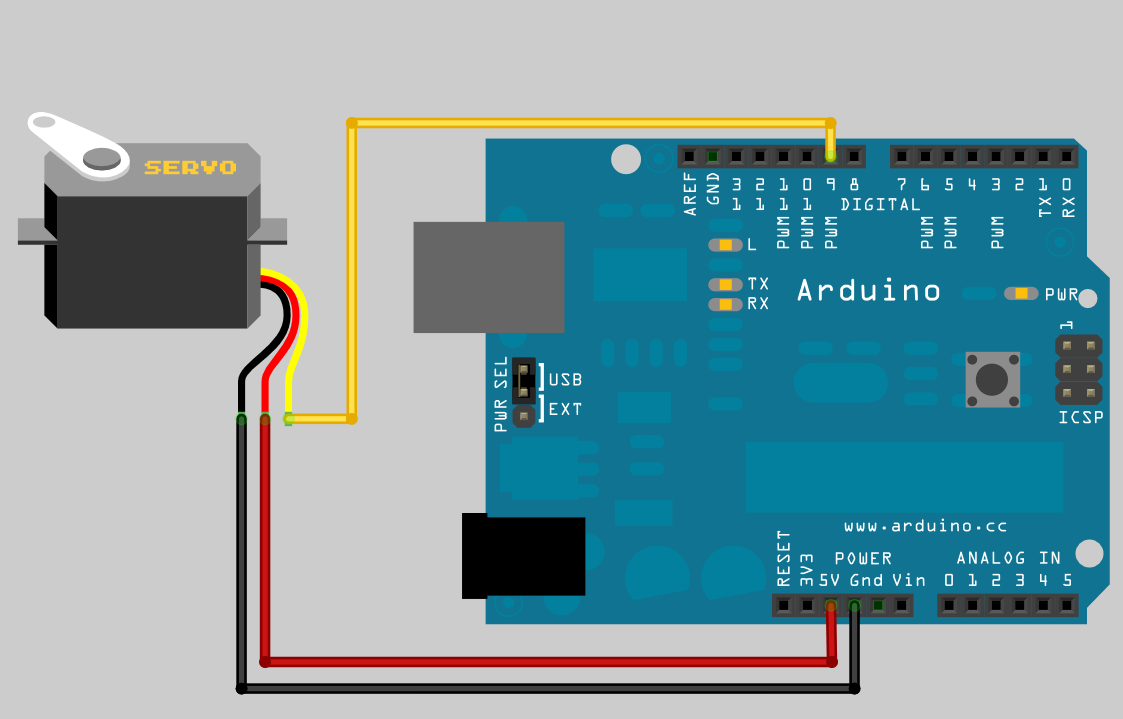
   1 /*
   2  * rosserial Servo Control Example
   3  *
   4  * This sketch demonstrates the control of hobby R/C servos
   5  * using ROS and the arduiono
   6  *
   7  * For the full tutorial write up, visit
   8  * www.ros.org/wiki/rosserial_arduino_demos
   9  *
  10  * For more information on the Arduino Servo Library
  11  * Checkout :
  12  * http://www.arduino.cc/en/Reference/Servo
  13  */
  14
  15 #if defined(ARDUINO) && ARDUINO >= 100
  16   #include "Arduino.h"
  17 #else
  18   #include <WProgram.h>
  19 #endif
  20
  21 #include <Servo.h>
  22 #include <ros.h>
  23 #include <std_msgs/UInt16.h>
  24
  25 ros::NodeHandle  nh;
  26
  27 Servo servo;
  28
  29 void servo_cb( const std_msgs::UInt16& cmd_msg){
  30   servo.write(cmd_msg.data); //set servo angle, should be from 0-180
  31   digitalWrite(13, HIGH-digitalRead(13));  //toggle led
  32 }
  33
  34
  35 ros::Subscriber<std_msgs::UInt16> sub("servo", servo_cb);
  36
  37 void setup(){
  38   pinMode(13, OUTPUT);
  39
  40   nh.initNode();
  41   nh.subscribe(sub);
  42
  43   servo.attach(9); //attach it to pin 9
  44 }
  45
  46 void loop(){
  47   nh.spinOnce();
  48   delay(1);
  49 }
程式碼扼要說明 :
11行 : 建立一個callback 函式 servoCb (被呼叫後立即返回),該函式是給subscriber使用的,函式的寫法是固定的, type of message is std_msgs::UInt16 ,message name 是 toggle_msg。這個callback函式很單純沒有參考回傳的內容,只是很單純地每次收到一個message,Arduino就會閃爍或熄滅一次LED。
15行 : 建立一個接下來可執行的 publisher或 subscriber。在這裡,我們建立一個subscriber,topic name 是 “servo” , type 是 std_msgs::UInt16。對於訂閱(subscriber)者,必須記住根據訊息(message)來訂閱。最後的兩個參數, Its two arguments are the topic it will be subscribing to and the callback function it will be using.
接著,執行程式
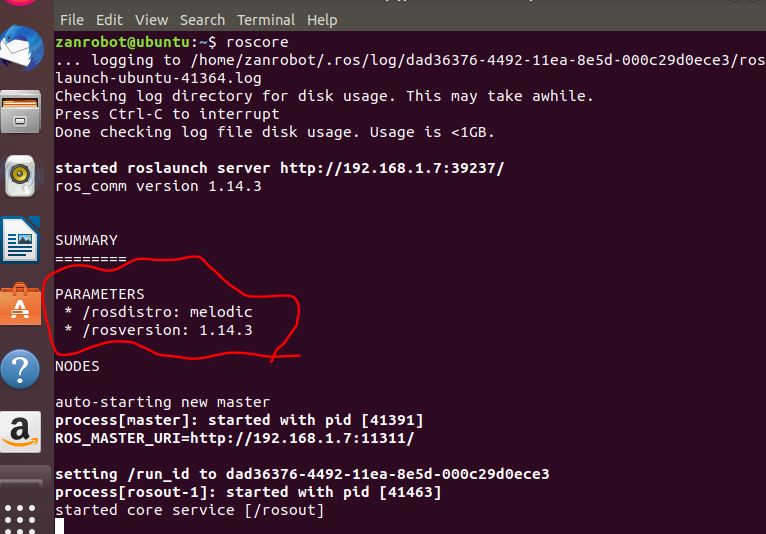
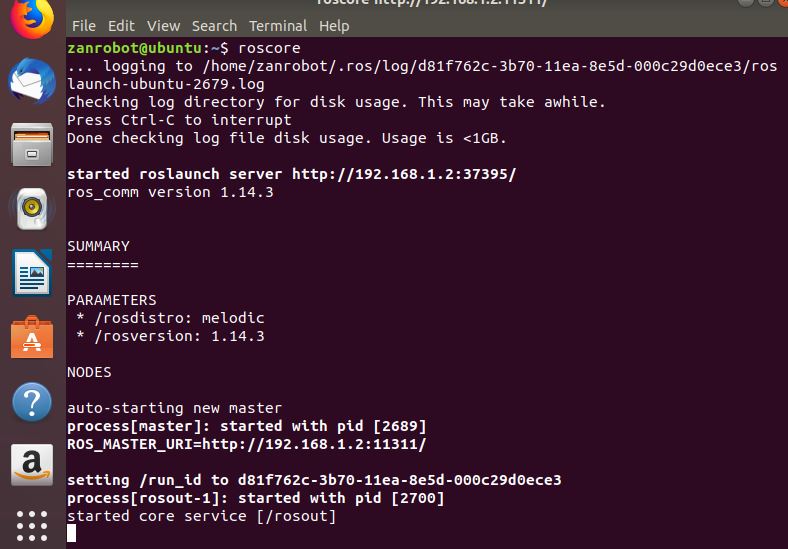
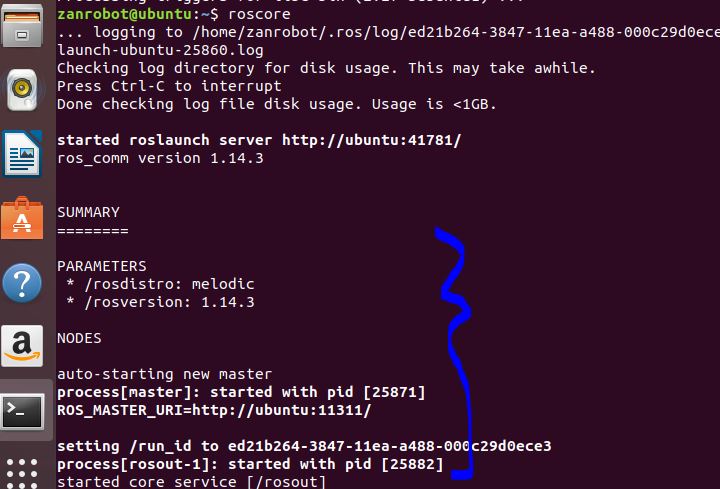
Now, launch the roscore in a new terminal window:
roscore
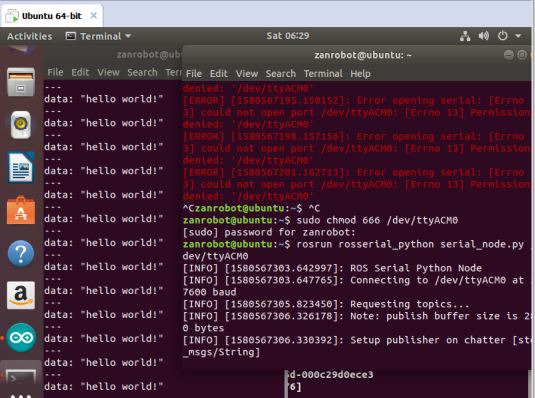
Next, run the rosserial client application that forwards your Arduino messages to the rest of ROS. Make sure to use the correct serial port: (要注意喔)
rosrun rosserial_python serial_node.py /dev/ttyACM0
再開一個 terminal,
rostopic pub servo std_msgs/UInt16 <angle>